|
Toshiba Satellite L45, L40 disassembly.
|
|
|
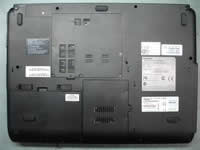 |
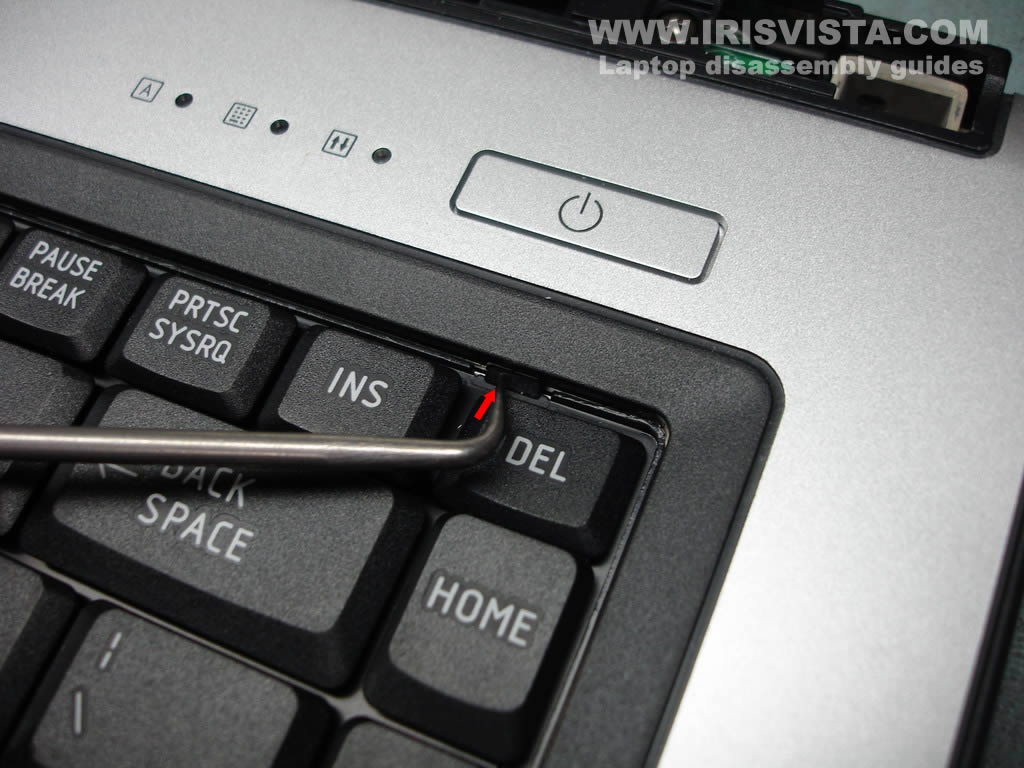
STEP 1
Remove laptop battery.
Remove hard drive, memory and video cable covers.
|
| |
|
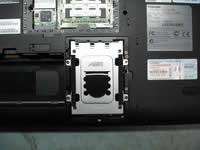 |
STEP 2
Remove four screws securing the hard drive.
Slide the hard drive down to disconnect it from the motherboard.
Lift up and remove the hard drive.
|
| |
|
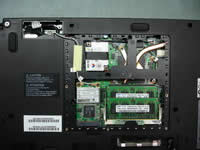 |
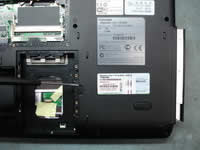
STEP 3
Disconnect two antenna cables from the wireless card. Remove two screws securing the wireless card. Lift up and remove the wireless card.
Remove two screws securing the dial-up modem. Lift up the modem to disconnect it from the motherboard. Unplug the cable from the modem.
Remove both memory modules. |
| |
|
 |
STEP 4
Remove one screw from the grounding cable.
Unplug the video cable from the connector on the motherboard.
Remove the yellow sticky tape and release the wireless antenna cables. |
| |
|
 |
STEP 5
Remove one screw securing the DVD drive.
Push the DVD drive from the laptop with a screwdriver.
Remove the DVD drive. |
| |
|
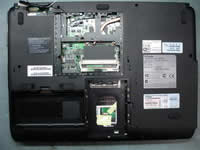 |
STEP 6
Remove all screws from the bottom of the laptop. |
| |
|
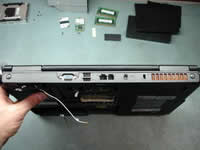 |
STEP 7
Remove two screws on the back side of the laptop. |
| |
|
|
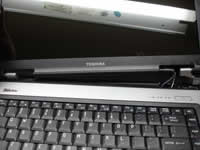
STEP 8
Remove both hinge covers with a small screwdriver. |
| |
|
 |
STEP 9
Now you can remove the LCD screen panel.
|
| |
|
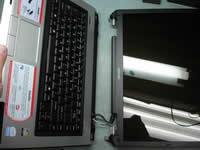 |
STEP 10
Carefully release the LCD panel cables. Remove the LCD panel. |
| |
|
 |
STEP 11
The LCD screen panel has been removed. |
| |
|
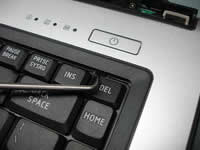 |
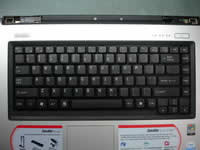
STEP 12
Press on the latches securing the keyboard with a sharp object.
Release the keyboard, lift it up and place upside down on the palm rest. |
| |
|
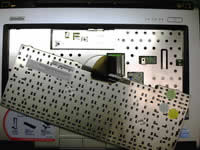 |
STEP 13
Unlock the keyboard cable connector on the motherboard.
Pull the keyboard cable from the connector.
Remove the keyboard. |
| |
|
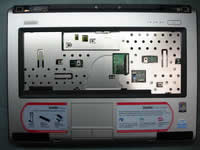 |
STEP 14
Remove all screws securing the top cover assembly.
Unplug the white cable from the motherboard. |
| |
|
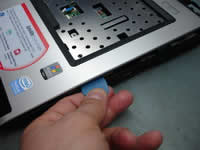 |
STEP 15
Separate the top cover from the laptop base.
You can use a guitar pick. Insert it between the top cover and the laptop base and move along the side. |
| |
|
|
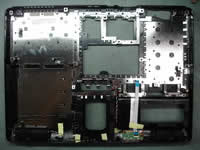
STEP 16
Lift up and remove the top cover assembly. |
| |
|
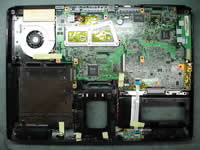 |
STEP 17
Remove yellow tape securing the cooling fan cable. |
| |
|
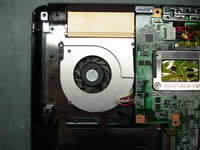 |
STEP 18
Remove two screws securing the cooling fan.
Unplug the fan cable from the motherboard.
Remove the cooling fan. |
| |
|
 |
STEP 19
Remove three screws and unplug two cables. |
| |
|
 |
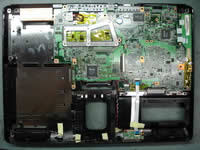
STEP 20
Start removing the motherboard from the left side.
Lift up and remove the motherboard from the laptop base. |
| |
|
 |
STEP 21
The motherboard has been removed. |
| |
|
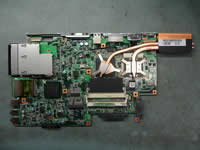 |
STEP 22
Remove seven screws securing two heat sinks.
Lifr up and remove both heat sinks.
|
| |
|
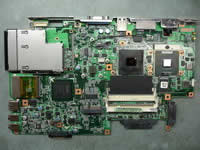 |
STEP 23
Finally, unlock the CPU socket. Carefully lift up the CPU from the socket.
|
| |
|
|
|