|
Toshiba Satellite A70, A75 screen removal.
|
|
|
 |
STEP 1
Start notebook disassembly with removing the battery.
Using a sharp object remove two rubber screw seals in the lower right and left corners of the LCD bezel.
|
| |
|
 |
STEP 2
Remove two screws located under the rubber seals.
|
| |
|
 |
STEP 3
Start removing the LCD screen bezel with your fingers. |
| |
|
 |
STEP 4
Continue separating the bezel from the display panel until it's removed. |
| |
|
 |
STEP 5
The screen bezel has been removed. |
| |
|
 |
STEP 6
Remove one screw securing the inverter board to the LCD cover. |
| |
|
|
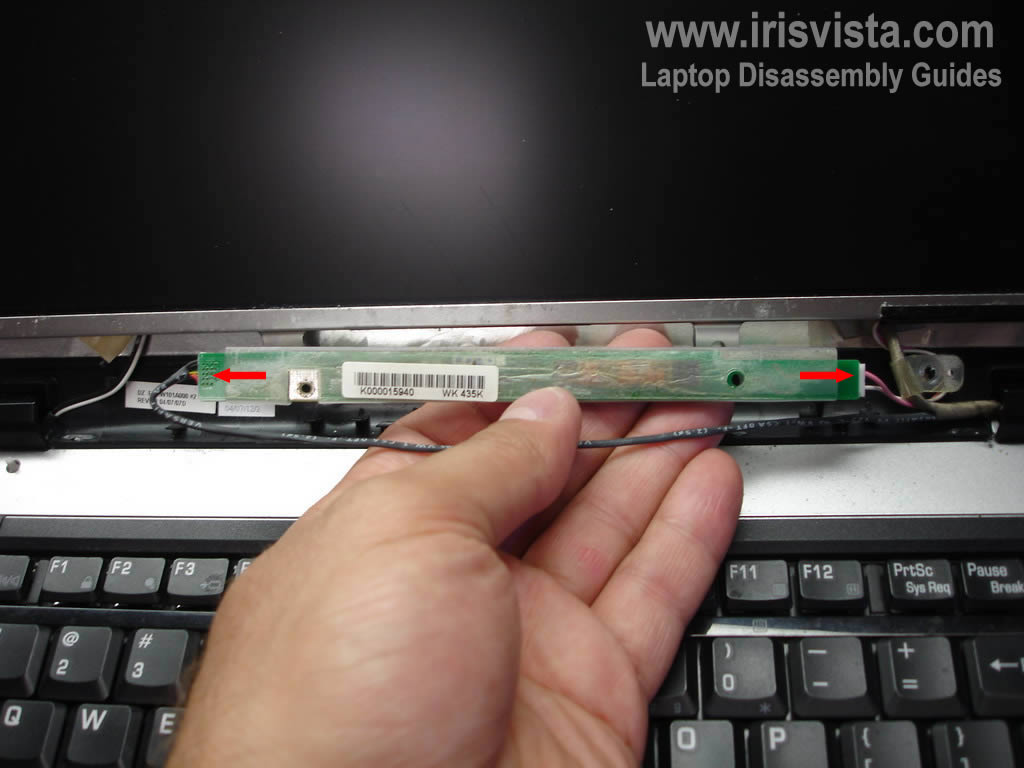
STEP 7
Carefully remove the inverter board and disconnect cables on both ends.
Now you can replace the inverter. |
| |
|
 |
STEP 8
Remove two screws securing screen brackets to the display cover.
|
| |
|
 |
STEP 9
Now you are redy to remove the LCD screen. |
| |
|
 |
STEP 10
First of all, remove sticky tape securing the video cable.
Disconnect the video cable from the connector on the LCD screen. |
| |
|
 |
STEP 11
Remove three screws securing the LCD screen to the bracket.
Remove three more screws on the other side.
Remove the LCD screen. |
| |
|
 |
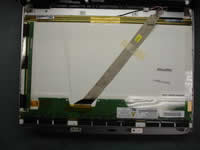
STEP 12
The LCD screen has been removed and ready to be replaced.
In the next guide you'll find comlete Satellite A75/A70 disassembly. |
| |
|
|
|