 |
Toshiba Satellite L25, L20, Tecra L2 screen replacement. |
|
|
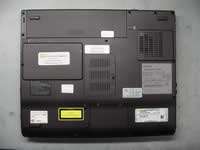 |
STEP 1
Place the notebook upside down and remove the battery.
|
| |
|
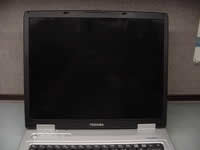 |
STEP 2
Remove four rubber screw seals. Remove four screws located under the rubber seals.
|
| |
|
 |
STEP 3
Start removing the display bezel from the bottom.
Insert fingers between the bezel and the screen and carefully separate them. |
| |
|
 |
STEP 4
Continue removing the bezel on the sides of the display panel. You can use a guitar pick, it will help to separate the cover. |
| |
|
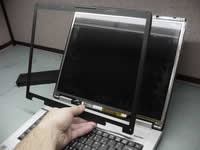 |
STEP 5
Remove the display bezel. |
| |
|
 |
STEP 6
Remove four screws securing the screen to the top cover.
Two screws from the top corners and four screws from the bottom covers. |
| |
|
 |
STEP 7
Separate the LCD screen from the cover.
Remove four screws from each side of the screen. These screws securing the screen to the laptop hinges. |
| |
|
 |
STEP 8
Carefully place the LCD screen on the palm rest, you can put soft cloth between the screen and the palm rest.
Remove sticky tape securing the video cable to the LCD screen and covering the video cable connector (marked with red arrow). The video cable can be glued to the screen.
Unplug the video cable from the connector on the LCD screen. |
| |
|
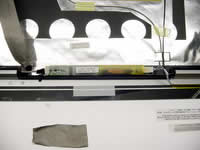 |
STEP 9
Unplug cables from both ends of the screen inverter. |
| |
|
 |
STEP 10
Carefully unglue the screen inverter from the top cover and remove/replace the inverter. |
| |
|
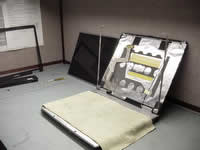 |
STEP 11
The LCD screen and inverter board have been removed. |
| |
|
|
|