 |
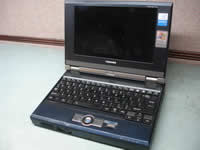
Toshiba Libretto U100 or U105 screen replacement. |
|
|
 |
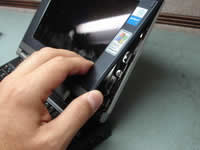
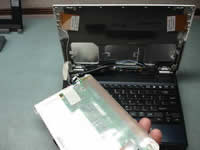
STEP 1
Separate the left side of the punching sheet from the LCD mask.
Remove one screw hidden under the punching sheet.
|
| |
|
 |
STEP 2
Separate the right side of the punching sheet from the LCD mask.
Remove one screw hidden under the punching sheet.
|
| |
|
 |
STEP 3
Start separating the LCD mask from the display cover with your fingers. |
| |
|
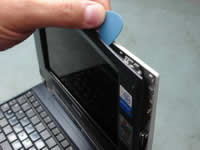 |
STEP 4
You can use a guitar pick to separate the mask from the cover.
|
| |
|
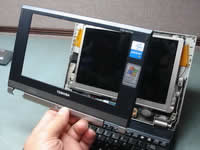 |
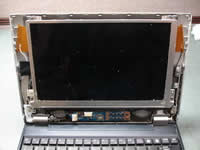
STEP 5
The LCD mask has been removed.
|
| |
|
 |
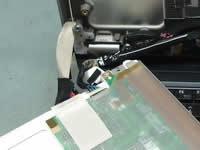
STEP 6
Remove two screws securing the LCD screen.
By the way, the screen inverter board is located under the LCD screeen. The inverter board is secured by two screws. |
| |
|
 |
STEP 7
Remove LCD screen assembly from the cover. |
| |
|
 |
STEP 8
Disconnect video cable from the LCD screeen.
|
| |
|
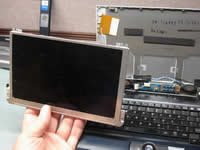 |
STEP 9
Remove LCD screen and replace it with a new one. |
| |
|
 |
STEP 10
Broken LCD screen has been replaced. |
| |
|
| |
|


