 |
How to replace screen in Toshiba Portege R100. |
|
|
 |
STEP 1
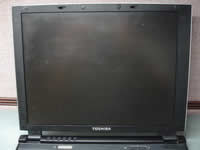
Start laptop disassembly with removing the battery.
On the LCD screen bezel you'll find 10 screw covers.
Four round covers and six square covers.
|
| |
|
 |
STEP 2
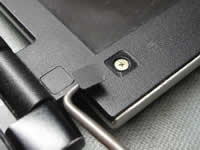
You can remove screw cover with a sharp object or small screwdrivers.
On this picture I'm removing the square cover.
|
| |
|
 |
STEP 3
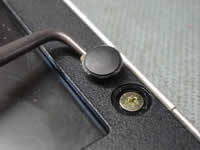
On this picture I'm removing the round cover.
All screw covers have sticky bottom. Glue all covers somewhere on the screen bezel so they don't get lost. |
| |
|
 |
STEP 4
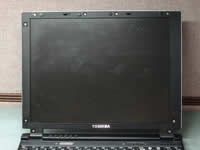
Remove all ten screws found under those covers.
|
| |
|
 |
STEP 5
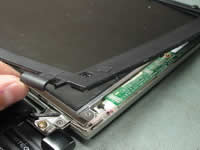
Start separating the LCD screen bezel from the display cover.
|
| |
|
 |
STEP 6
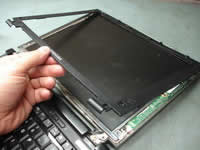
Continue removing the bezel. |
| |
|
 |
STEP 7
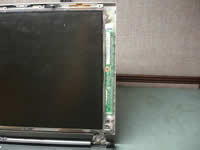
In Toshiba Portege R100 the LCD screen inverter is mounted on the right side from the screen (in most laptops the inverter board is mounted below the screen).
Remove one screw securing the inverter board. |
| |
|
 |
STEP 8
Carefully lift up the inverter board and disconnect the screen backlight cable.
If you would like to replace the inverter board, simply unplug the cable on the other end, remove the inverter and replace it with a new one. |
| |
|
 |
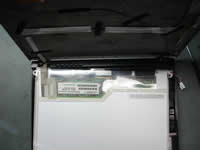
STEP 9
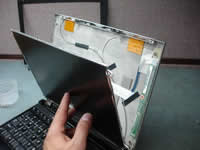
Separate the LCD screen from the display cover and place the screen upside down on the palm rest.
|
| |
|
 |
STEP 10
Now you can access the video cable connector on the back of the screen.
Remove sticky tape securing the connection. |
| |
|
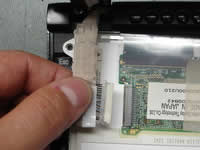 |
STEP 11
Disconnect the video cable connector from the LCD screen. |
| |
|
 |
STEP 12
Remove the damaged LCD screen and replace it with a new one. |
| |
|
|
|