 |
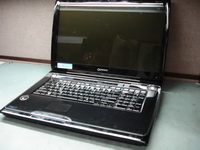
Toshiba Qosmio G55 and G50 screen removal. |
|
|
 |
STEP 1
Remove six screw seals from the LCD screen bezel.
|
| |
|
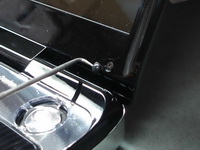 |
STEP 2
You can remove screw seals with a sharp object.
|
| |
|
 |
STEP 3
Remove six screws found under screw seals. |
| |
|
 |
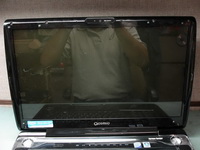
STEP 4
Separate LCD screen bezel from the display cover with your fingers.
|
| |
|
 |
STEP 5
Continue removing screen bezel.
|
| |
|
 |
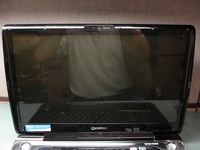
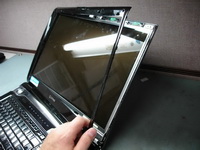
STEP 6
LCD screen bezel has been removed. |
| |
|
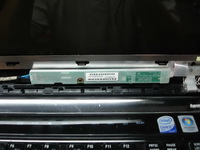 |
STEP 7
Remove one screw securing the sceen inverter board.
Disconnect cables from both sides of the inverter board. |
| |
|
 |
STEP 8
Remove the inverter board. |
| |
|
 |
STEP 9
Remove six screws securing display hinges.
|
| |
|
 |
STEP 10
One of the screws on the right hinge is hidden under the clear plastic. |
| |
|
 |
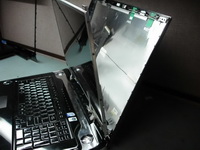
STEP 11
Separat LCD screen from the display cover and access the video cable.
Unplug the video cable from the LCD screen. |
| |
|
 |
STEP 12
Remove four scrws securing the LCD screen to the hinge bracket.
Remove four screws from the other side of the screen. |
| |
|
 |
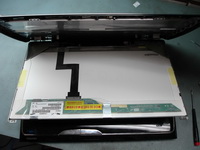
STEP 13
Remove and replace the LCD screen with a new LCD screen if needed. |
| |
|
|
|


